Understanding Your Car's Alternator: Key Functions
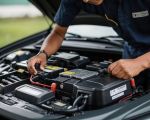
Your car's alternator plays a critical role in ensuring that your vehicle runs smoothly. It generates electricity to power essential components such as headlights, air conditioning, and your vehicle's electrical system. Most importantly, it recharges your car’s battery while the engine is running. A faulty alternator can cause a range of electrical issues that can leave you stranded on the road. Identifying these issues early can help you avoid major disruptions and expensive repairs.

Firestone Complete Auto Care
1933 N Placentia Ave, Fullerton, CA 92831, USA
What Causes an Alternator to Fail?
Alternators are built to last, but they can fail due to several factors. Common causes of alternator failure include worn-out brushes, a broken diode, or damage to the alternator belt. Other potential problems include overheating, which can result from a failed cooling system, or excessive wear due to age. These issues can lead to poor performance, battery drainage, and even complete alternator failure.

Complete Auto Service of Ann Arbor
2890 Jackson Ave, Ann Arbor, MI 48103, USA
Signs of a Faulty Alternator
It’s important to recognize the early signs of alternator trouble. A few key symptoms include:
- Dim or Flickering Lights: When your alternator begins to fail, you may notice that your vehicle's lights, both interior and exterior, dim or flicker.
- Battery Warning Light: Most modern cars have a battery warning light that will illuminate when the alternator is not charging the battery properly.
- Electrical Failures: If the alternator isn’t supplying enough power, you may notice issues with your car’s electrical systems, like malfunctioning radio or air conditioning.
- Strange Noises: A grinding or whining sound coming from the alternator can indicate internal issues with the alternator bearings.
- Stalling: If your alternator is failing to keep the battery charged, your car may stall or fail to start altogether.
Diagnosing a Faulty Alternator
Once you suspect that your alternator may be malfunctioning, it's crucial to confirm the diagnosis before proceeding with repairs. Here are the steps to help you identify a faulty alternator:
Step 1: Check the Battery Light
As mentioned, the battery warning light on your dashboard is the most obvious indication of alternator issues. If the light comes on while driving, it may mean your alternator is failing. However, this light can also come on for other reasons, so don’t jump to conclusions right away.
Step 2: Perform a Voltage Test
To confirm if the alternator is the source of the problem, you can test the vehicle’s voltage using a multimeter. With the engine off, the voltage across the battery should be around 12.6 volts. When the engine is running, the voltage should increase to around 13.7 to 14.7 volts if the alternator is charging the battery properly. If the voltage remains low or fluctuates, your alternator may be at fault.
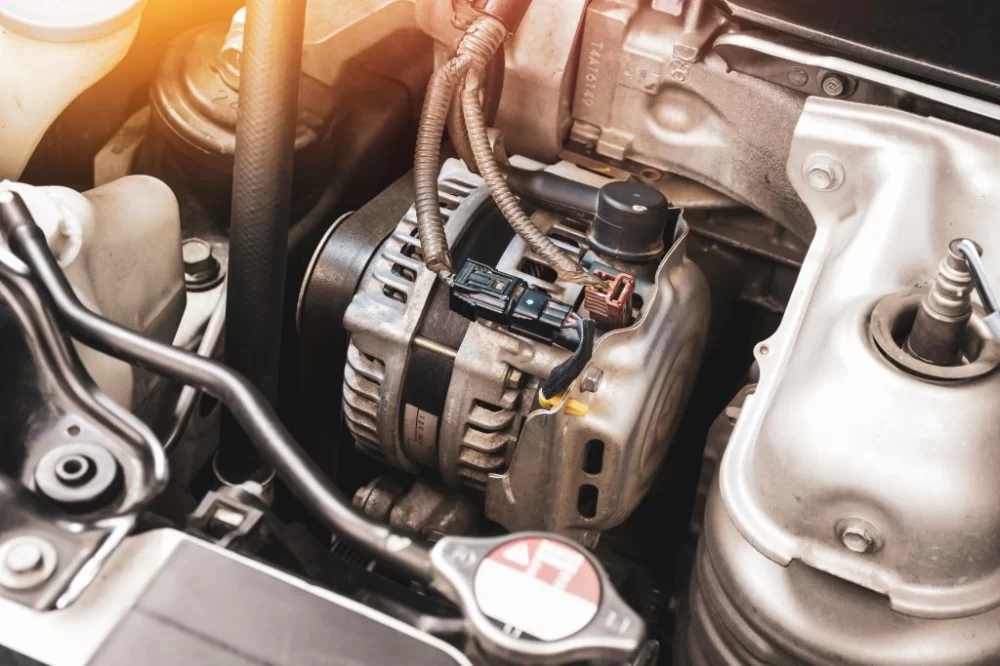
Step 3: Inspect the Alternator Belt
The alternator belt is a key component that connects the alternator to the engine. If this belt is worn, loose, or damaged, it can prevent the alternator from functioning correctly. Inspect the belt for visible wear or cracks and ensure it’s properly tensioned.
How to Repair a Faulty Alternator
Once you've confirmed that the alternator is faulty, you can either choose to replace it entirely or attempt a repair if you have the necessary tools and skills. Here’s a step-by-step guide for replacing your car’s alternator:
Step 1: Gather Necessary Tools
You’ll need a few basic tools to replace your alternator, including a socket set, wrench, and safety gloves. Be sure to have the replacement alternator on hand, which you can purchase from an auto parts store or online.
Step 2: Disconnect the Battery
Before beginning any repair work, disconnect the negative terminal of the battery to avoid electrical shock or damage to the vehicle’s electrical system.
Step 3: Remove the Alternator Belt
Use a wrench to loosen the tension on the alternator belt and remove it from the alternator pulley. This step may require you to remove other components, depending on your vehicle model.
Step 4: Unbolt the Alternator
With the belt removed, unbolt the alternator from its bracket. Depending on your vehicle, this may involve removing other components or electrical connections. Keep track of any bolts and wires for reassembly.
Step 5: Install the New Alternator
Place the new alternator into position and bolt it onto the bracket. Reattach any electrical connections, and make sure everything is secured properly.
Step 6: Reattach the Alternator Belt
Once the alternator is in place, reinstall the alternator belt and ensure it’s properly tensioned.
Step 7: Reconnect the Battery and Test
Reconnect the negative terminal of the battery and start the vehicle. Check that the alternator is working correctly by using a multimeter to verify the charging voltage. If everything looks good, you’ve successfully repaired your faulty alternator!
Professional Help: When to Call for Assistance
While repairing a faulty alternator yourself can save money, it’s not always an option for everyone. If you lack the tools, experience, or time to repair the alternator on your own, it's best to call a professional mechanic. They can quickly diagnose and repair the alternator, ensuring your vehicle runs smoothly.
If you're in need of professional help, consider visiting a trusted service provider like Rescue & Towing. They offer expert towing and auto repair services to ensure you're never stranded due to a faulty alternator or other car problems.
Preventing Alternator Failures
To avoid dealing with alternator failures in the future, regular vehicle maintenance is essential. Check the alternator belt periodically, keep the electrical system clean, and ensure that the cooling system is functioning properly to avoid overheating. A little attention to your vehicle’s health can go a long way in preventing unexpected repairs.