How to Replace a Damaged Belt in Your Vehicle
Car maintenance can seem overwhelming at times, but learning the basic repairs can save you time, money, and stress. One of the most common issues you may encounter is a damaged belt. The serpentine belt or timing belt is essential for powering various systems in your vehicle, such as the alternator, air conditioning, and power steering. If a belt breaks or becomes worn, it can lead to engine damage and vehicle breakdowns. In this article, we’ll walk you through the process of identifying a damaged belt and replacing it, making sure your vehicle stays running smoothly. Whether you're a beginner or experienced with car repairs, this guide will help you understand the steps needed to replace a damaged belt in your car.
- Step 1: Identifying a Damaged Belt
- Step 2: Gather the Necessary Tools and Parts
- Step 3: Remove the Damaged Belt
- Step 4: Installing the New Belt
- Step 5: Testing the Belt
- Step 6: Regular Maintenance Tips
Step 1: Identifying a Damaged Belt
The first step to replacing a damaged belt is recognizing the signs of a problem. A damaged belt can cause a variety of issues, from squealing sounds to complete breakdowns. Common symptoms of a damaged belt include:
- Squealing or squeaking noises from the engine.
- Reduced air conditioning or power steering performance.
- Warning lights appearing on the dashboard.
- Visible cracks or fraying on the belt itself.
If you notice any of these signs, it's a good idea to inspect the belt immediately. A worn belt can compromise several vital functions in your vehicle, and the sooner you replace it, the less likely you are to experience major engine damage.

Pick Your Part - Help Yourself
1232 Blinn Ave, Wilmington, CA 90744, USA
Step 2: Gather the Necessary Tools and Parts
Before you begin the replacement process, make sure you have all the necessary tools and parts. For a successful belt replacement, you will need:
- A new belt (make sure it matches your vehicle’s specifications).
- Socket wrenches and sockets to remove the belt tensioner.
- A jack and jack stands (if needed for accessing the belt underneath the car).
- A belt tensioner tool (optional, depending on your vehicle model).
- Lubricant or belt dressing (optional, for improving belt performance).
Having these tools on hand will help you work efficiently and safely during the repair process. It’s important to get a high-quality replacement belt that’s designed for your vehicle, as a poor-quality belt could wear out quickly and cause more problems down the line.

Pick Your Part - Greer
13054 E Wade Hampton Blvd, Greer, SC 29651, USA
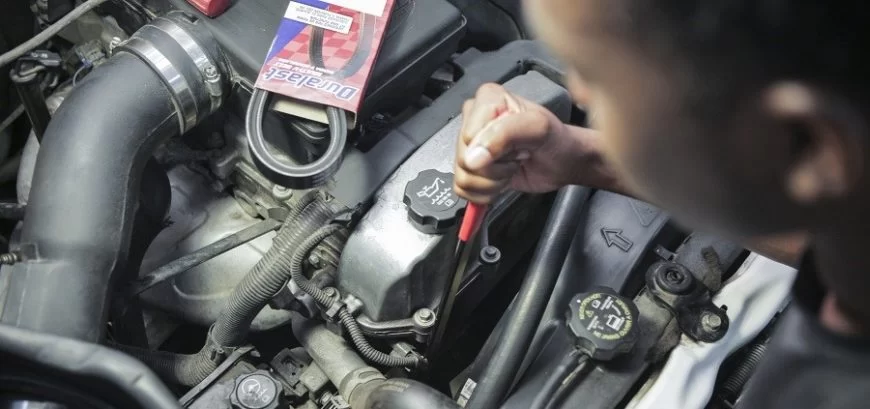
Step 3: Remove the Damaged Belt
With the proper tools in hand, it's time to remove the damaged belt. Follow these steps carefully:
- Turn off the engine and let it cool before starting work.
- Locate the belt tensioner, which is a spring-loaded pulley that holds the belt tight. This can usually be found near the front of the engine.
- Use a wrench or the tensioner tool to relieve tension on the belt. This will allow you to easily slip the belt off of the pulleys.
- Carefully remove the belt, noting the route it takes around various pulleys. Take a picture or make a note so you can easily install the new belt.
If your vehicle has multiple belts, check all of them for any signs of wear while you're under the hood. Replacing other belts during the same service can save time in the long run.
Step 4: Installing the New Belt
Now that the old belt is removed, it’s time to install the new one. Follow the steps below:
- Match the new belt with the old one to ensure it's the correct size and length.
- Start threading the new belt over the pulleys, making sure it follows the exact same path as the old belt.
- Ensure that the belt is seated properly on all pulleys, especially on the tensioner pulley.
- Use the tensioner tool or wrench to apply tension to the new belt. Be sure the belt is tight, but not over-tightened, as this could damage the components.
Once the new belt is installed, double-check the routing and ensure it’s correctly aligned before moving on to testing.
Step 5: Testing the Belt
With the new belt installed, it’s important to test the system to ensure it’s working properly. Start the engine and listen for any unusual sounds, such as squealing or rubbing. Check that all systems powered by the belt (such as the alternator, power steering, and air conditioning) are functioning correctly.
If everything is running smoothly, congratulations! You've successfully replaced the damaged belt. If you notice any issues, double-check the belt’s tension and routing.
Step 6: Regular Maintenance Tips
To avoid needing frequent belt replacements, it's important to perform regular maintenance. Here are some helpful tips:
- Inspect belts regularly for signs of wear, such as cracks or fraying.
- Keep the engine clean to prevent debris from damaging the belts.
- Ensure the belt is properly tensioned. Over or under-tightening can lead to premature wear.
- Consider replacing belts as part of a regular maintenance schedule, even if they seem to be in good condition.
By following these simple tips, you can extend the life of your vehicle’s belts and prevent unexpected breakdowns.
If you encounter difficulties or find that the problem extends beyond a simple belt replacement, it may be time to seek professional assistance. At Rescue & Towing, we provide reliable towing and roadside assistance services for all types of vehicle issues, including those related to belts and engine components.
OLD Keywords: how to replace a damaged belt, car belt replacement, car maintenance SEO Title: How to Replace a Damaged Belt in Your Vehicle SEO Keywords: how to replace a damaged belt, car maintenance, car repairs, vehicle belt replacement SEO Description: Learn how to replace a damaged belt in your vehicle with our step-by-step guide. Get helpful tips and tricks to keep your car in top shape and prevent breakdowns.