Replacing a Faulty Thermostat in Your Car: A DIY Guide
It was one hot summer afternoon when I first noticed something wasn’t quite right with my car’s cooling system. I had just finished a long drive, and when I parked the car, I noticed the temperature gauge was creeping up higher than usual. After a little research and a check of my engine, I realized the thermostat was the culprit. Replacing a faulty thermostat is a relatively simple repair, but when you're not familiar with the process, it can seem intimidating. Over the years, I’ve learned how to tackle this issue myself, and in this guide, I’ll share everything I’ve learned about diagnosing and replacing a faulty thermostat in your car.

Pick Your Part - Help Yourself
1232 Blinn Ave, Wilmington, CA 90744, USA
1. What is a Car Thermostat and Why Does It Matter?
Before diving into the replacement process, it’s important to understand the role of the thermostat in your vehicle. The thermostat is a small but crucial part of your car’s cooling system. It regulates the flow of coolant to the engine by opening and closing at specific temperatures. When the engine is cold, the thermostat remains closed, preventing coolant from flowing into the radiator. Once the engine reaches the right operating temperature, the thermostat opens, allowing coolant to circulate and keep the engine from overheating. A faulty thermostat can prevent the engine from maintaining the proper temperature, leading to overheating or poor engine performance. I learned this the hard way when my engine started running too hot, and I had to replace the thermostat to restore normal function.

Pick Your Part - Greer
13054 E Wade Hampton Blvd, Greer, SC 29651, USA
2. Symptoms of a Faulty Thermostat
When my thermostat went bad, I didn’t realize it at first. But as soon as I noticed the symptoms, I knew it was time for a replacement. Here are the most common signs that your thermostat is faulty:
2.1. Overheating Engine
The most obvious symptom of a bad thermostat is engine overheating. I first noticed the issue when my temperature gauge started creeping into the red zone, even though I hadn’t been driving for that long. When the thermostat doesn’t open properly, the engine can’t cool down, which leads to overheating. If you see your car’s temperature gauge rise unusually high or notice steam coming from the engine, the thermostat may be the cause.
2.2. Cold Air from the Heater
Another sign of a bad thermostat is when you get cold air from your car’s heater. I remember my heater blowing out cold air despite the car running for a while. The thermostat helps regulate the engine’s temperature, and if it’s stuck open, coolant may be circulating too much, not allowing the engine to warm up enough for the heater to work. If you’ve tried running the heater but only get cold air, the thermostat might be stuck open.
2.3. Fluctuating Temperature Gauge
A faulty thermostat can also cause the temperature gauge to fluctuate between hot and cold while driving. When I noticed the gauge bouncing erratically, I realized it was another sign that my thermostat was malfunctioning. This usually happens when the thermostat opens and closes at the wrong times, allowing coolant to flow unevenly.
2.4. Strange Engine Sounds
If you hear unusual engine noises, especially after starting your car, it could be due to a stuck thermostat. When the thermostat fails to open, the engine struggles to cool itself, which can lead to knocking or pinging sounds. I once heard this noise coming from my engine when the thermostat was stuck closed, causing the engine to overheat quickly.
3. Tools and Materials Needed
Before starting the replacement process, it’s important to have the right tools on hand. Here’s what I used when replacing my thermostat:
- New thermostat (specific to your car’s make and model)
- Socket wrench set
- Drain pan for coolant
- Funnel (for adding coolant after the replacement)
- Screwdrivers
- Gasket scraper or razor blade
- Replacement gasket (if needed)
- Coolant (make sure to use the right type for your car)
- Gloves (for protection)
4. Step-by-Step Guide to Replacing the Thermostat
Now that you’re familiar with the symptoms and tools, here’s a step-by-step guide to replacing the faulty thermostat in your car:
4.1. Prepare the Vehicle
The first step is to ensure the engine is cool. I always let my car sit for a while before working on it. This is important because working on a hot engine can lead to burns or other injuries. Once the engine is cool, I disconnect the negative terminal of the car battery to avoid any electrical mishaps.
4.2. Drain the Coolant
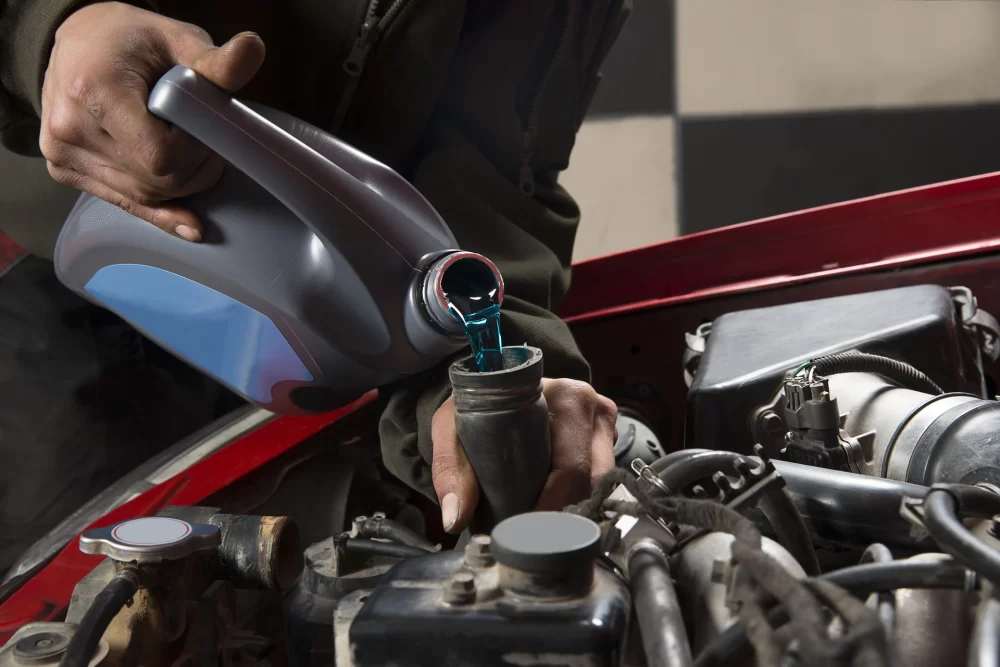
Before removing the thermostat, I drained the coolant from the radiator. I placed a drain pan under the radiator’s drain valve and opened it to allow the coolant to flow out. Be sure to dispose of the old coolant properly; don’t pour it down the drain or into the ground. I kept a funnel handy to pour the coolant back into the system after the replacement.
4.3. Locate the Thermostat
Next, I located the thermostat. In most vehicles, the thermostat is located where the upper radiator hose connects to the engine. It’s usually covered by a housing that’s held in place with bolts. I used my socket wrench to remove the bolts and take off the housing, which exposed the thermostat. If your thermostat is in a different location, consult your vehicle’s manual for guidance.
4.4. Remove the Old Thermostat
Once the housing was removed, I carefully took out the old thermostat. Be gentle to avoid damaging surrounding components. If the thermostat doesn’t come out easily, you might need to use a gasket scraper to remove any stuck material. In my case, the old thermostat came out without much trouble, but I made sure to clean the area thoroughly before installing the new one.
4.5. Install the New Thermostat
I placed the new thermostat into the housing, ensuring that it was seated properly. Some thermostats come with a new gasket, while others may require you to reuse the old one. I carefully checked the old gasket for wear and tear, and it looked fine, so I reused it. I made sure the gasket was aligned correctly to prevent leaks.
4.6. Reassemble and Refill the Coolant
After the new thermostat was in place, I reattached the housing and secured it with the bolts. Once everything was tightened, I refilled the cooling system with the appropriate amount of coolant. I used a funnel to avoid spills and topped off the radiator with coolant, ensuring the system was filled properly. After refilling, I reconnected the battery and closed the hood.
4.7. Start the Engine and Check for Leaks
With the new thermostat in place, I started the engine and monitored the temperature gauge. I let the car run for a few minutes and checked for any leaks around the thermostat housing. Everything looked good, and the temperature gauge remained steady, indicating that the thermostat was functioning properly.
5. Preventing Future Thermostat Problems
To avoid thermostat issues in the future, I’ve learned to follow these maintenance tips:
5.1. Regularly Check the Coolant Level
I make it a habit to check the coolant level regularly to ensure the engine stays at the right temperature. Low coolant levels can put extra stress on the thermostat and lead to overheating. Keeping the system topped off is a simple step to prevent problems.
5.2. Flush the Radiator Periodically
I’ve found that flushing the radiator every few years helps remove any buildup of debris or corrosion that could affect the thermostat or other cooling system components.
5.3. Inspect the Cooling System During Regular Maintenance
During routine maintenance, I always ask the mechanic to check the cooling system, including the thermostat. Early detection of wear or issues can prevent more costly repairs down the road.
If you're ever unsure about replacing your thermostat or run into issues, I recommend checking out Rescue & Towing for expert assistance. They can help with any roadside repairs or towing needs you may encounter!